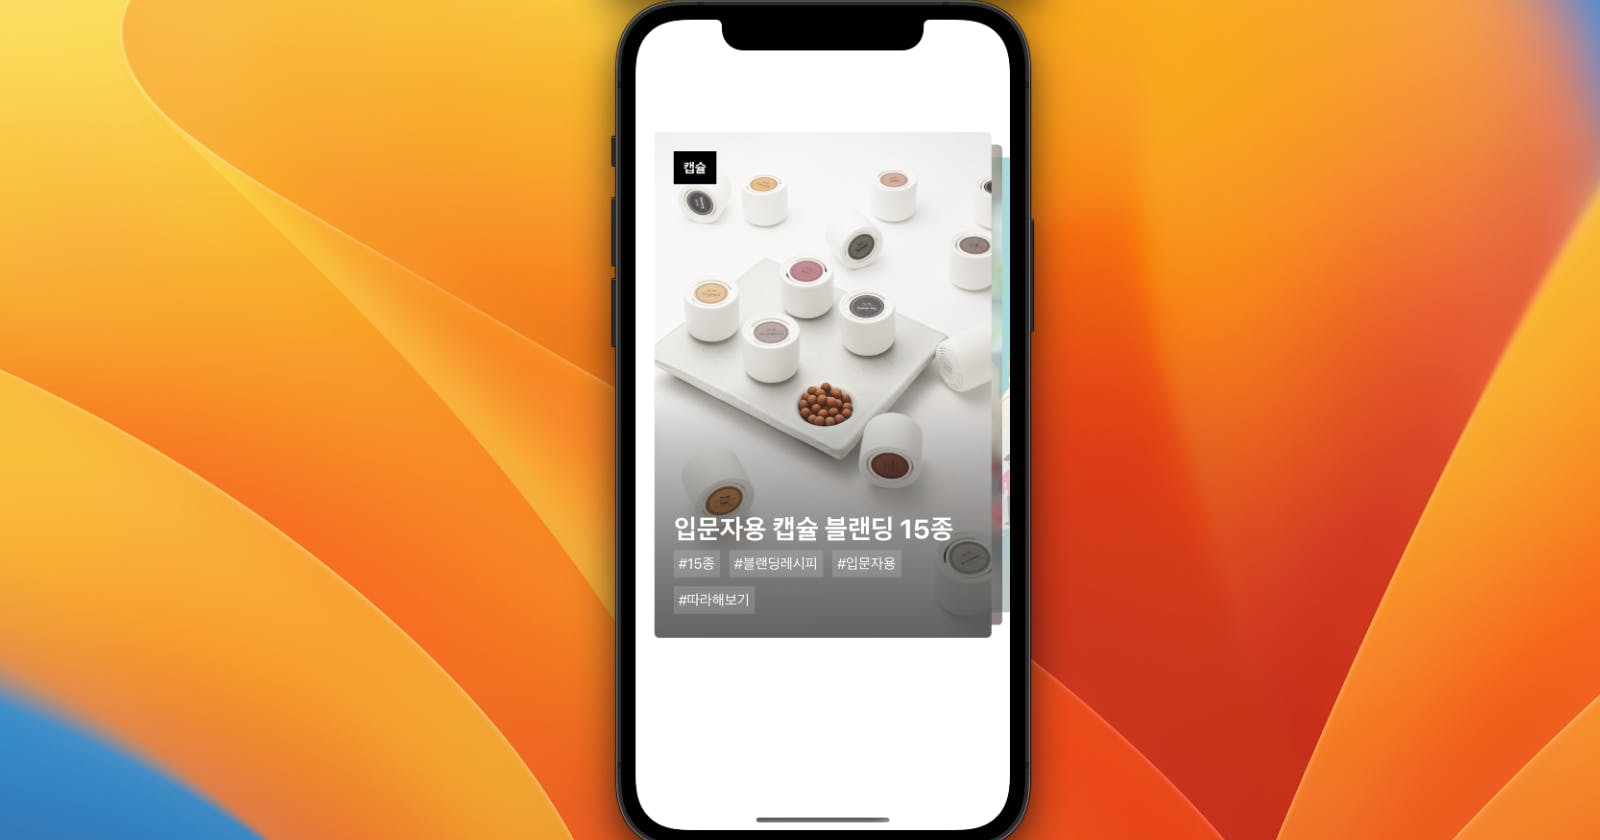
In my recent journey as a front-end developer, I was tasked with a coding assignment after I applied to, a company called Deepscent, where I just recently started working! The task was to create an image swipe carousel component using React Native. This blog post will walk you through the key aspects of the project, focusing on the most important parts of the code.
The Task
The goal was to create a carousel component that allows users to swipe through a series of images fetched from an API. The carousel had to be interactive, responsive, and visually appealing. It also needed to handle user interactions such as swiping left or right to navigate through the images.
The Approach
The first step was to set up the necessary state and refs using React's useState, useRef, and useMemo hooks. The state was used to store the data fetched from the API, while refs were used to keep track of the current index of the carousel and the scroll position.
const [data, setData] = useState(); // data state for fetch from API call
const index = useRef(0); // keep track of discover card index
const scrollXIndex = useRef(new Animated.Value(0)).current; // keep track of scroll index
const scrollXAnimated = useRef(new Animated.Value(0)).current; // keep track of animated index
Fetching Data
The data for the carousel was fetched from an API using the fetch function. The fetched data was then set to the data state.
const fetchData = () => { // api call fetch w/ auth header
    return fetch('https://staging.deepscent.io/v2/discover', {
        method: 'GET',
        headers: {
            'Authorization': process.env.REACT_APP_AUTH_KEY
        }
    });
};

useMemo(() => { // fetch data, cache images locally and set data to state
    fetchData()
        .then((res) => res.json())
        .then((resData) => {
            setData(resData); // set data state with cached image data
        });
}, []);
Handling User Interactions
To handle user interactions, I used the PanResponder from React Native. This allowed me to detect when the user swipes left or right and update the current index accordingly.
const panResponder = useMemo(() => PanResponder.create({
    onStartShouldSetPanResponder: (evt, gestureState) => true,
    onMoveShouldSetPanResponder: (evt, gestureState) => true,
    onPanResponderRelease: (evt, gestureState) => {
        if (gestureState.dx < 0 && index.current < (data?.length - 1)) { // swipe left
            setActiveIndex(index.current + 1);
        } else if (gestureState.dx > 0 && index.current !== 0) { // swipe right
            setActiveIndex(index.current - 1);
        }
    }
}), [data]);
Rendering the Carousel
The carousel was rendered using the FlatList component from React Native. Each item in the list was an image fetched from the API. The CellRendererComponent and renderItem props were used to customize the rendering of each item.
<FlatList
    showsHorizontalScrollIndicator={false}
    data={data}
    keyExtractor={(_, index) => String(index)}
    horizontal
    inverted
    scrollEnabled={false}
    contentContainerStyle={{
        flex: 1,
        justifyContent: 'center',
        padding: 20,
        marginTop: 50,
    }}
    CellRendererComponent={({item, index, children, style, ...props}) => {
        const newStyle = [style, {zIndex: data.length - index}];
        return (
            <View
                {...panResponder.panHandlers}
                key={`cell${index}`}
                style={newStyle}
                index={index}
                {...props}
            >
                {children}
            </View>
        );
    }}
    renderItem={({item, index}) => {
        // rendering logic here
    }}
/>
Conclusion
This assignment was a great opportunity to delve deeper into React Native and its capabilities. It was a challenging task, but the end result was a fully functional, interactive image swipe carousel. I hope this post provides some insight into the process and encourages you to try building your own carousel in React Native. Happy coding! :)
