

In the realm of mobile app development, sometimes the tools you need simply don't exist yet. This was the case when I was tasked with creating a custom vertical slider component for a project at my current company. In this blog post, I'll walk you through the key aspects of this assignment, focusing on the reasons behind it, the challenges I faced, and how I overcame them.
The Task
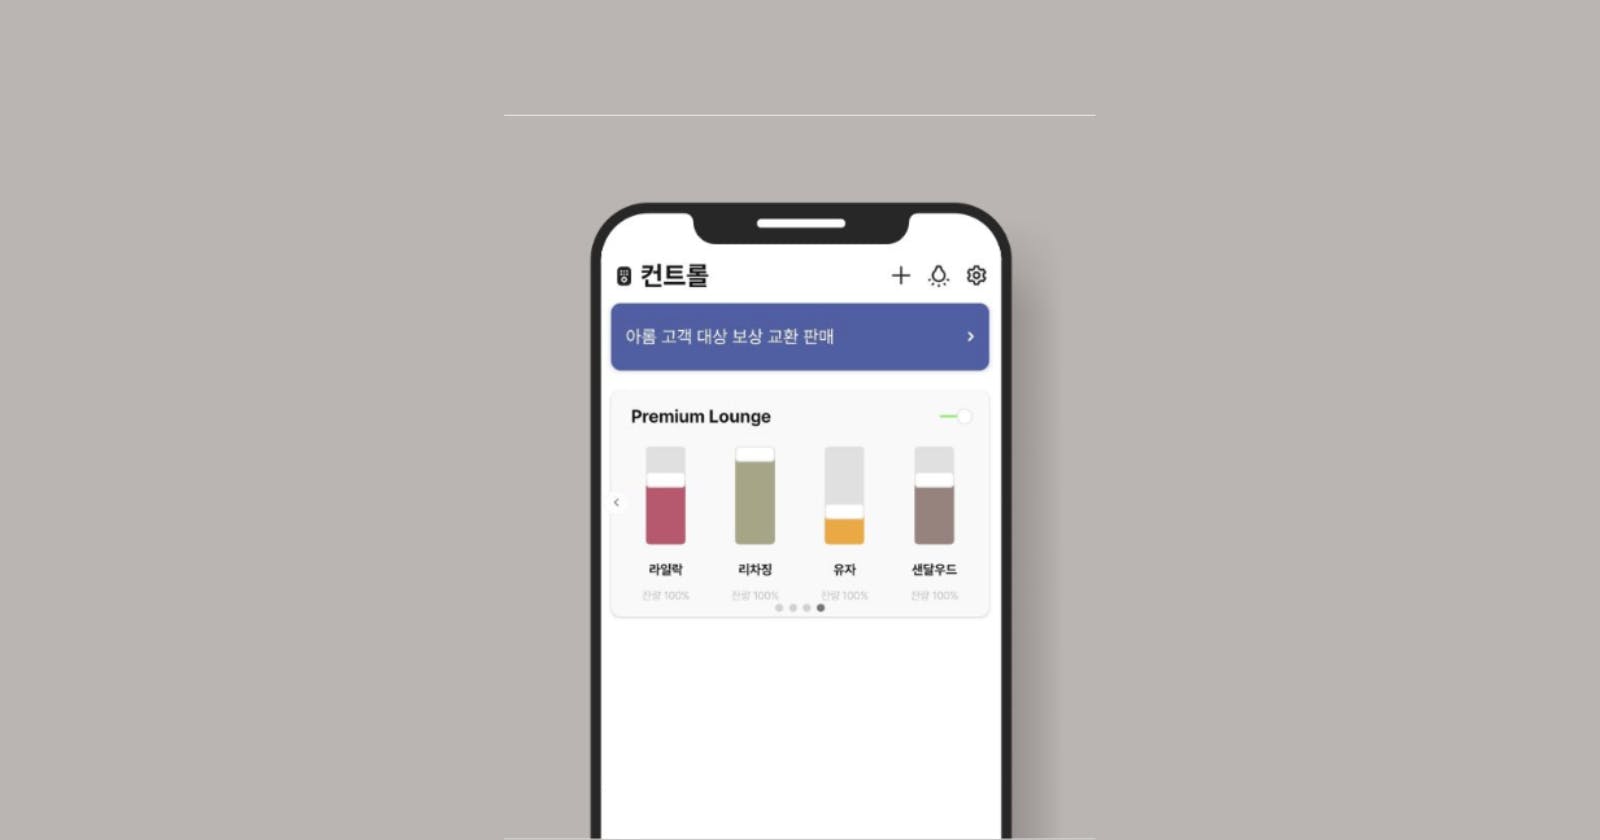
The task was to create a custom vertical slider component for a React Native application. The challenge was that there were no existing libraries that provided a vertical slider component that met our specific needs. The slider needed to be interactive, responsive, and visually appealing. It also needed to handle user interactions such as dragging the slider up or down to adjust the real-time value of our company's IoT smart device's fans.
The Approach
The first step was to define the slider's steps and the initial fan power using React's useState and useMemo hooks. The useMemo hook was used to calculate the slider steps based on the height of the slider container and the height of the slider toggle.
const sliderSteps = useMemo(() => {
    return {
      0: 0,
      1: (sliderContainerHeight - sliderToggleHeight) * (1 / 3),
      2: (sliderContainerHeight - sliderToggleHeight) * (2 / 3),
      3: sliderContainerHeight - sliderToggleHeight,
    };
  }, [sliderContainerHeight, sliderToggleHeight]);
Handling User Interactions
To handle user interactions, I used the GestureDetector and Gesture.Pan() from the react-native-gesture-handler library. This allowed me to detect when the user starts dragging the slider, updates the drag, and finally releases the slider. The onUpdate and onFinalize handlers were used to calculate the new position of the slider based on the user's drag.
const gesture = Gesture.Pan()
    .onBegin(() => {
      isPressed.value = true;
    })
    .onUpdate(e => {
      // logic to calculate new position of the slider
    })
    .onFinalize(e => {
      // logic to finalize the position of the slider
    });
Diving Deeper: The Logic Inside the Gesture Pan Handler
One of the most complex parts of this project was handling the logic inside the Gesture Pan Handler. This is where the magic happens in terms of user interaction and slider movement. Let's break it down.
onUpdate Handler
The onUpdate handler is called every time the user moves their finger while the gesture is active. This is where we calculate the new position of the slider based on the user's drag.
First, we calculate the new Y position of the slider (toggleOffsetY) based on the current translation of the gesture (e.translationY) and the start position of the slider (start.value.y).
Next, we check if the new Y position is within the bounds of the slider container. If it's not, we adjust it to the nearest valid position. This ensures that the slider doesn't move outside of its container.
Finally, we update the offset shared value, which is used to animate the position of the slider.
.onUpdate(e => {
  const toggleOffsetY = e.translationY + start.value.y;
  const maxLimit = (sliderContainerHeight - sliderToggleHeight) * -1;

  if (toggleOffsetY > 0) {
    offset.value = {
      x: 0,
      y: 0,
    };
  } else if (toggleOffsetY < maxLimit) {
    offset.value = {
      x: 0,
      y: maxLimit,
    };
  } else {
    offset.value = {
      x: 0,
      y: toggleOffsetY,
    };
  }
})
onFinalize Handler
The onFinalize handler is called when the user releases their finger, ending the gesture. This is where we finalize the position of the slider and update the fanPower state.
First, we calculate the final Y position of the slider (finalOffsetY) based on the final translation of the gesture and the start position of the slider.
Next, we iterate over the sliderSteps object to find the two steps that the final Y position falls between. We then compare the final Y position to the values of these two steps to determine which one it's closer to.
The closer step is then used to calculate the final Y position of the slider (gestureEndOffsetY) and the new fan power value (fanPowerVal).
Finally, we update the offset and start shared values to the final Y position, set isPressed to false, and update the fanPower state using the runOnJS function.
.onFinalize(e => {
  const finalOffsetY = (e.translationY + start.value.y) * -1; // convert to positive number

  let gestureEndOffsetY;
  let fanPowerVal;
  // calculate which sliderStep value to move to

  // user drags toggle all the way beyond top
  if (finalOffsetY > sliderContainerHeight - sliderToggleHeight) {
    gestureEndOffsetY = sliderContainerHeight - sliderToggleHeight;
    fanPowerVal = numOfSliderSteps;
  }
  // compare finalOffsetY to sliderSteps values
  for (const [k, v] of Object.entries(sliderSteps)) {
    if (finalOffsetY < v) {
      const lowDiff = finalOffsetY - sliderSteps[k - 1];
      const highDiff = v - finalOffsetY;

      const sliderStepOffsetY =
        lowDiff <= highDiff ? sliderSteps[k - 1] : v;

      fanPowerVal = lowDiff <= highDiff ? k - 1 : k;

      gestureEndOffsetY = sliderStepOffsetY;
      break;
    } else if (finalOffsetY === v) {
      gestureEndOffsetY = v;
      fanPowerVal = k;
      break;
    }
  }
  offset.value = {
    x: 0,
    y: gestureEndOffsetY * -1,
  };
  start.value = {
    x: 0,
    y: offset.value.y,
  };
  isPressed.value = false;
  runOnJS(setFanPower)(fanPowerVal); // setState needs to be run outside of native stack
})
This logic ensures that the slider moves smoothly and snaps to the nearest step when the user releases their finger, providing a satisfying user experience. It also updates the fanPower state to reflect the position of the slider, allowing other parts of the app to react to the user's input.
Rendering the Slider
The slider was rendered using the Animated.View component from the react-native-reanimated library. This allowed me to animate the position of the slider based on the user's drag. The useAnimatedStyle hook was used to create an animated style that updates the position of the slider.
<Animated.View
  style={[styles.sliderContainer, {height: sliderContainerHeight}]}>
  <GestureDetector gesture={gesture}>
    <Animated.View
      style={[
        styles.sliderToggle,
        {height: sliderToggleHeight},
        animatedStylesSliderToggle,
      ]}
    />
  </GestureDetector>
  // other components here
</Animated.View>
Challenges and Solutions
The main challenge was to calculate the new position of the slider based on the user's drag. This was solved by creating a sliderSteps object that maps each step of the slider to a specific position. Then, in the onUpdate and onFinalize handlers of the gesture, I compared the final position of the user's drag to the values in the sliderSteps object to determine the new position of the slider.
Another challenge was to run a JavaScript function (setFanPower) from within the native thread. This was solved by using the runOnJS function from the react-native-reanimated library.
Leveraging 'Reanimated': A Superior Animation Library
In this project, we used the react-native-reanimated library to handle animations. This library is a powerful tool that provides a more robust and flexible API for animations compared to the built-in Animated library in React Native. Let's delve into why we chose 'react-native-reanimated' and how it benefited our project.
Why 'react-native-reanimated'?
React Native's built-in Animated library is a great tool for creating basic animations. However, it has some limitations when it comes to more complex animations and gestures. For instance, it doesn't support native-driven gestures out of the box, and running animations on the native thread can be a bit tricky.
On the other hand, 'react-native-reanimated' is designed to be fully compatible with gestures and animations running on the native thread. This means that it can handle complex animations and gestures with high performance and smoothness, which is crucial for a good user experience.
In our vertical slider component, we used react-native-reanimated to animate the position of the slider based on the user's drag. This was done using the useSharedValue and useAnimatedStyle hooks provided by the library.
The useSharedValue hook was used to create shared values (isPressed, start, offset) that can be used both in the JavaScript thread and the native thread. This allowed us to update these values in response to the user's drag and use them to animate the position of the slider.
The useAnimatedStyle hook was used to create an animated style that updates the position of the slider based on the shared values. This hook runs on the native thread, which means that the animation runs smoothly even if there are heavy computations happening on the JavaScript thread.
const animatedStylesSliderToggle = useAnimatedStyle(() => {
  return {
    transform: [
      {translateX: offset.value.x},
      {
        translateY: withTiming(offset.value.y, {
          duration: isPressed.value ? 0 : 500,
        }),
      },
    ],
    backgroundColor: isPressed.value ? '#f2f2f2' : '#fff',
  };
});
Conclusion
This assignment was a great opportunity to delve deeper into React Native and its capabilities. It was a challenging task, but the end result was a fully functional, interactive vertical slider. I hope this post provides some insight into the process and encourages you to try building your own custom components in React Native. Happy coding!